I thought I'd share my class with you guys! Since we were having Marci in, and since Lisa has a great selection of Hambly transparencies in the store I decided to do a transparency card. It turned out really cute. The supplies, with the exception of the ribbon and the transparency, all came from the "Tea Party" kit in the store as well. That kit was absolutely phenomenal and I'm STILL not done using it up!
So here's the class. If you make a card - please be sure to link me in the comments. I'd LOVE to see yours!
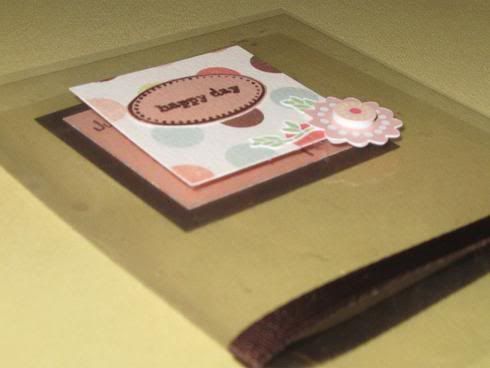
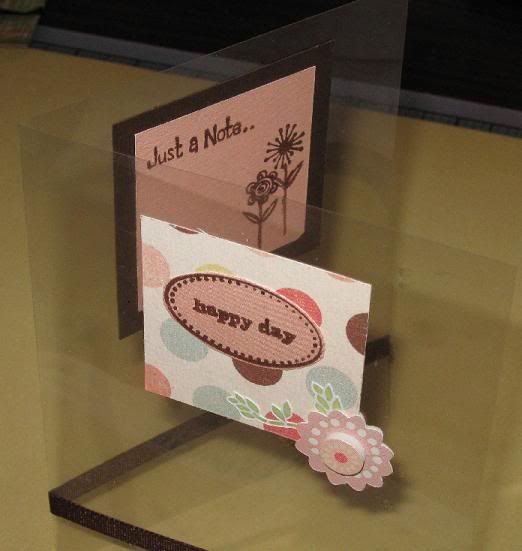
A Transparency Card for Someone Special
Supplies:
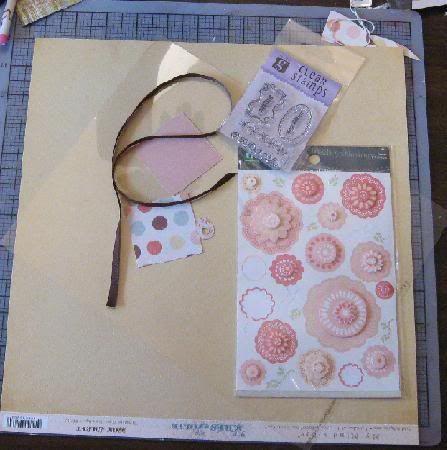
1 8.5 x 11 transparency
1 length of ribbon 17" long
Embellishments (two of identical shape and size and one extra)
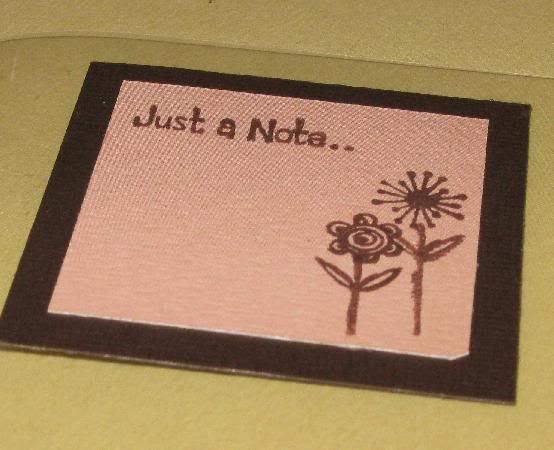
One or Two small sentiment stamps
A scrap of patterned paper measuring at least 5" x 6" (double sided patterned paper with one side patterned and one side a plain lighter color)
One piece of coordinating cardstock
Spray Adhesive, 2.5" or larger Xyron or double sided tape
Temporary adhesive
Coordinating Ink
Small piece of soft cloth for burnishing
Instructions:
Cut your transparency in half (across the middle) to make a 5.5" x 8.5" piece. Fold in half and score with your bone folder to create a 5.5" x 4.25" card
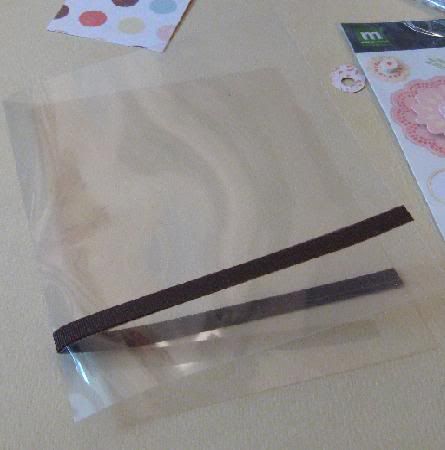
Cut ribbon into two (2) 8.5" pieces. Run through your Xyron or use double sided tape to adhere ribbon to card.
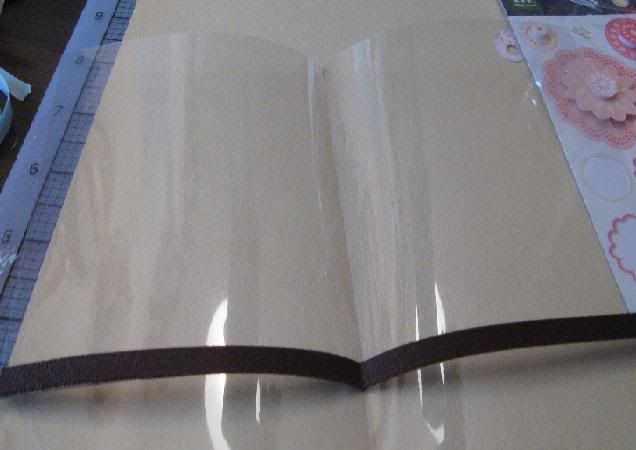
Repeat outside ribbon placement on the inside of the card, exactly on top of the ribbon showing through the transparency.
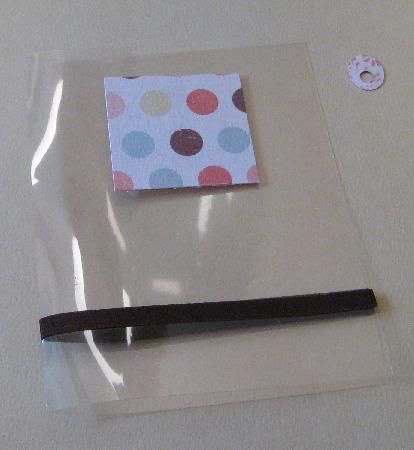
Cut two (2) 2" x 2" squares from two sided patterned paper. Run both through your xyron or spray with adhesive on OPPOSITE sides. I used My Mind's Eye double Baby Girl Polka Dot/Light Rose. One side I ran through my Xyron on the Polka Dot side and one side was run through on the Light Rose side.
Adhere one of your squares of paper, patterned side up, in the center of the top half of your card. (See photo for placement.) Open card and burnish well to the front of the card with your finger covered with a soft cloth to create a uniform color is showing through the transparency.
Mat your other 2"x2" piece, plain side out on coordinating cardstock that is 2.25" x 2.25". Run through your xyron or spray with adhesive.
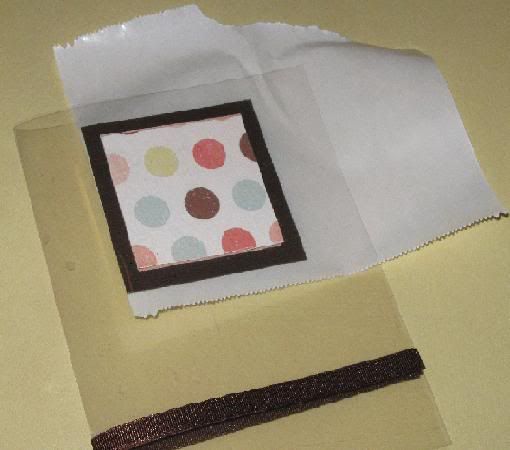
Open your card and add a small dot of temporary adhesive in the center of the back of the piece of patterned paper showing through the front of your card Lay your matted piece that already has adhesive on it directly on top of the square on the front of the page. Be sure you have exact placement . Remove the adhesive back and close your card. Exact placement is necessary so when you close your card you cannot see the 2"x2" piece behind the front. You should only be able to see the matted area of the inside piece.
Close the card and burnish well with your cloth covered finger as mentioned above..
On the remaining double sided paper scrap, stamp a sentiment on the plain side and cut out. Adhere to the center of the patterned paper on the front of the card.
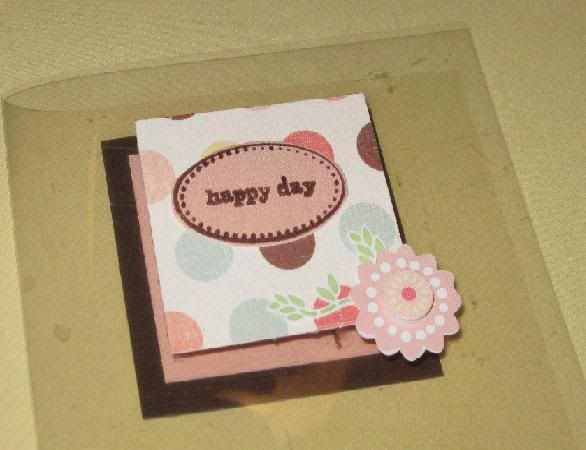
Add one of the matching small embellishments to the lower right hand corner of the patterned paper.
Open card and match up the small embellishment on the front of the card and add the second one directly over it.
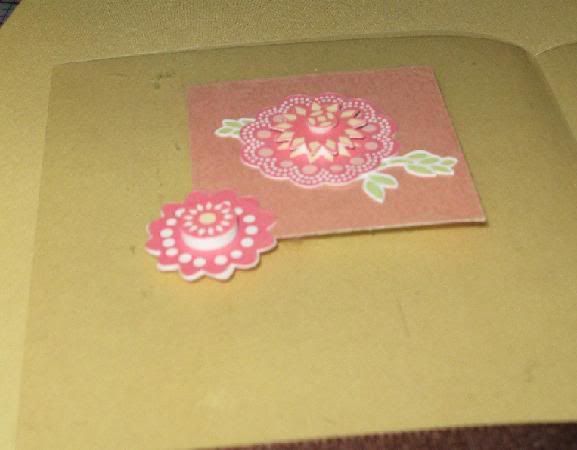
Add an additional embellishment in the center of the back of the front paper as shown.
Stamp sentiment on the inside paper allowing enough room to sign your card. Let dry.
Send your card to someone special!
1 comment:
This is so cute! I think I'm going to try it this weekend! ^_^
Post a Comment